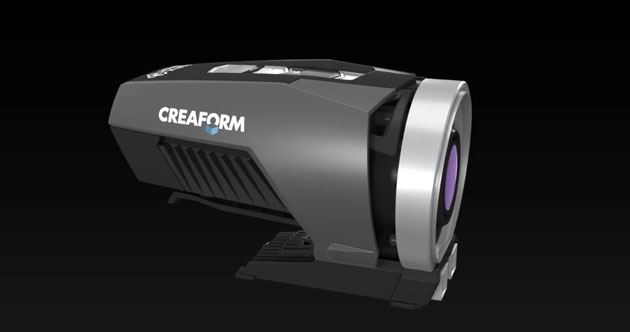
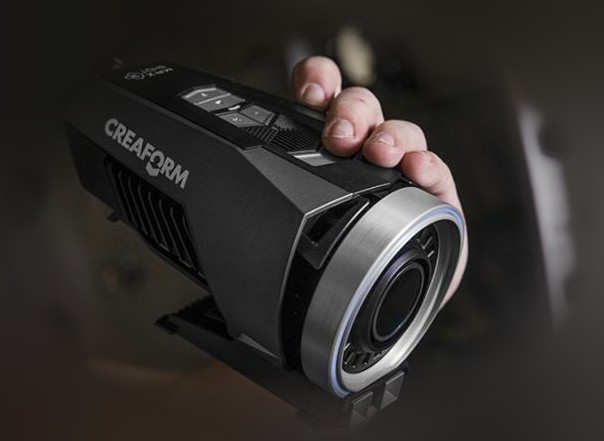
MaxSHOT 3D
Watch this overview presentation video of Creaform's MaxSHOT 3D Photogrammetry system integrated with the New HandySCAN Black Elite 3D Scanner. Interested in optimizing your current process? Check us out! Watch Presentation VideoThe Optimal Choice in Photogrammetry
The MaxSHOT 3D™ family is revolutionizing measurement accuracy and repeatability for product development, manufacturing, quality control and inspection. Equipped with an innovative user guidance technology and a simple, yet sophisticated software, the MaxSHOT 3D is the optimal choice in photogrammetry for users of all levels. Avoid measurement errors, increase quality of products, boost efficiency and reduce your operating costs with. Use MaxSHOT 3D to obtain 3D measurements directly or seamlessly use it in collaboration with any of Creaform’s 3D scanners to measure large parts.
What is Photogrammetry?
Stemming from photography, photogrammetry is an incredibly useful technology in various fields. The technology takes multiple images, taken at different positions, and triangulates points in these images to figure out the location of them in a three-dimensional space. For example, land surveyors utilize this technology when making maps. When dealing with inaccessible places, such as mountains, the surveyors are able to use photogrammetry to perform their measurements. Many modern technologies use photogrammetry, with the major determiner in precision relying on the caliber of the images. If images are poor, there will be holes in the mesh. The more images that you can produce, the greater the accuracy of your scan will be. With the MaxSHOT 3D, users are guaranteed unmatched accuracy.


New Features:
- Automatic Feedback
- Maximized User Comfort
- 40% More Accurate
TRUsimplicity:
- Use seamlessly with VXelements
- VXelements provided diagnostics tools
- Intuitive controls & operations
TRUaccuracy:
- Accuracy up to .015 mm
- Volumetric Accuracy up to .015 mm
- Average Deviation as little as .005 mm/m
TRUportability:
- Use in any conditions
- System fit into 1 portable case
- Efficient and comfortable design
Applications
- Part to CAD analysis
- 1st article inspection
- Compare 3D models to original parts
- Compare large manufactured parts to orginals
- Tooling certification
- Full inspection (if used with 3D scanner)
- Reverse engineer geometrical entities
- Reverse engineer mixed large parts (if used with 3D scanner)
