Inspection of a Compound Bow Riser
The Problem:
The riser geometry of modern compound bows have become much more complex in the last decade. This has been driven by the adoption of simulation software capable of accurately predicting the deflection, torque, and vibration that occurs during a bow shot.
The inspection processes for these components have simultaneously become more difficult and time consuming due to this design progression.
Traditional Method:
The very first compound bows featured wooden risers, with geometry similar to traditional longbows. Hand-held measurement devices were used to ensure the limited critical dimensions were correct.
In recent years, Coordinate Measurement Machines (CMMs) have been used to take individual points on the riser geometry, again mainly in the critical limb attachment locations. This has provided a much more accurate and repeatable method for quality control, but progress has taken another leap.
NeoMetrix Solution:
The bow riser was scanned using Creaform’s HandySCAN 700 hand-held laser scanner. This provided a complete 3D digitization of the geometry, accurate to 0.0012″ (0.03mm)
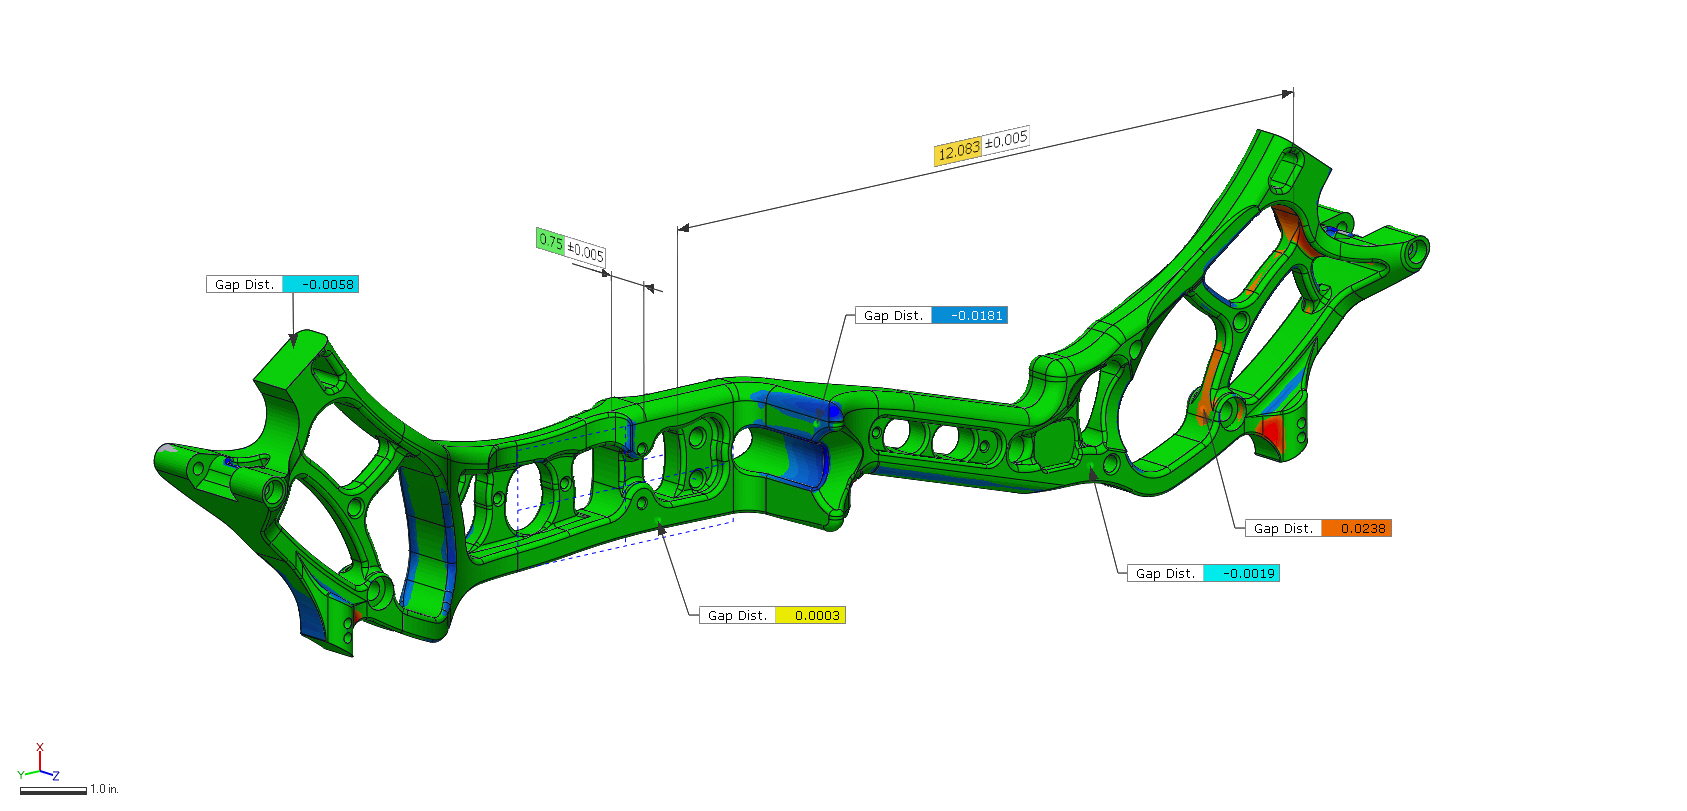
Geomagic’s Control X inspection software was used to verify dimensions on the riser. Much like a CMM program is written ahead of time and then run once the part is prepared, Control X lets you apply all alignments, dimensions, GD&T, cross sections, and color maps to the CAD model before measurement. Once the scan data is captured via the scanner, it’s simply imported into the Control X session, and a pass/fail report is generated for the inspector.
NeoMetrix Advantage:
With a hand-held 3D scanner, nearly 100% of the complex riser can be digitized in a matter of minutes. When compared to even a single point CMM, a program written for a complete inspection process can be dramatically shortened. This means reduced time and cost to manufacture, resulting in more units shipped at a greater profit margin.
Not only can a riser be measured in a static, pre-assembled state, but can also be quickly scanned and compared when at full draw, under maximum torque, for initial comparison and verification to the simulated model.
Due to advanced manufacturing and quality control developments in the last decade, today’s hunters and target archers have access to bows that are leaps and bounds more advanced than those of decades passed. Riser designs can now be optimized for weight, rigidity, and accuracy without the compromise for ease and accuracy of inspection.

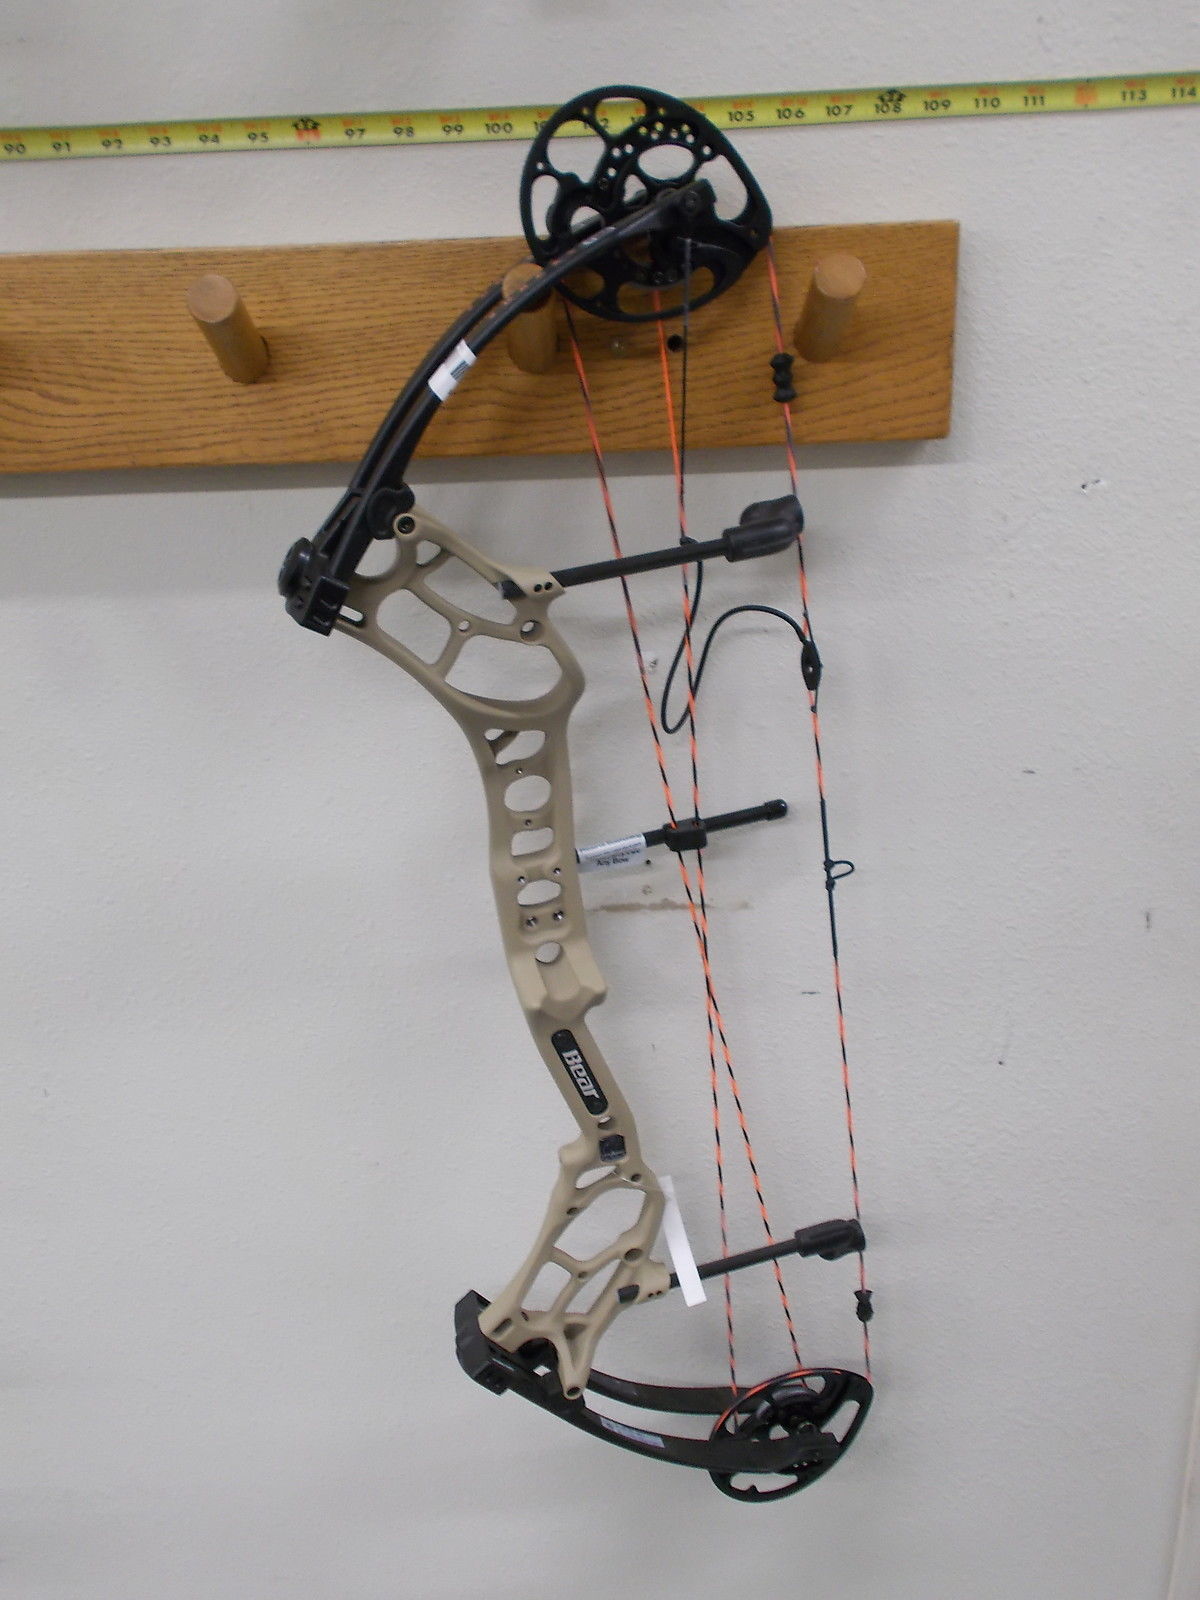
Compound Bow to be Scanned

Bow Riser Scanned Data

Bow Riser Inspection

Bow Riser CAD Model
