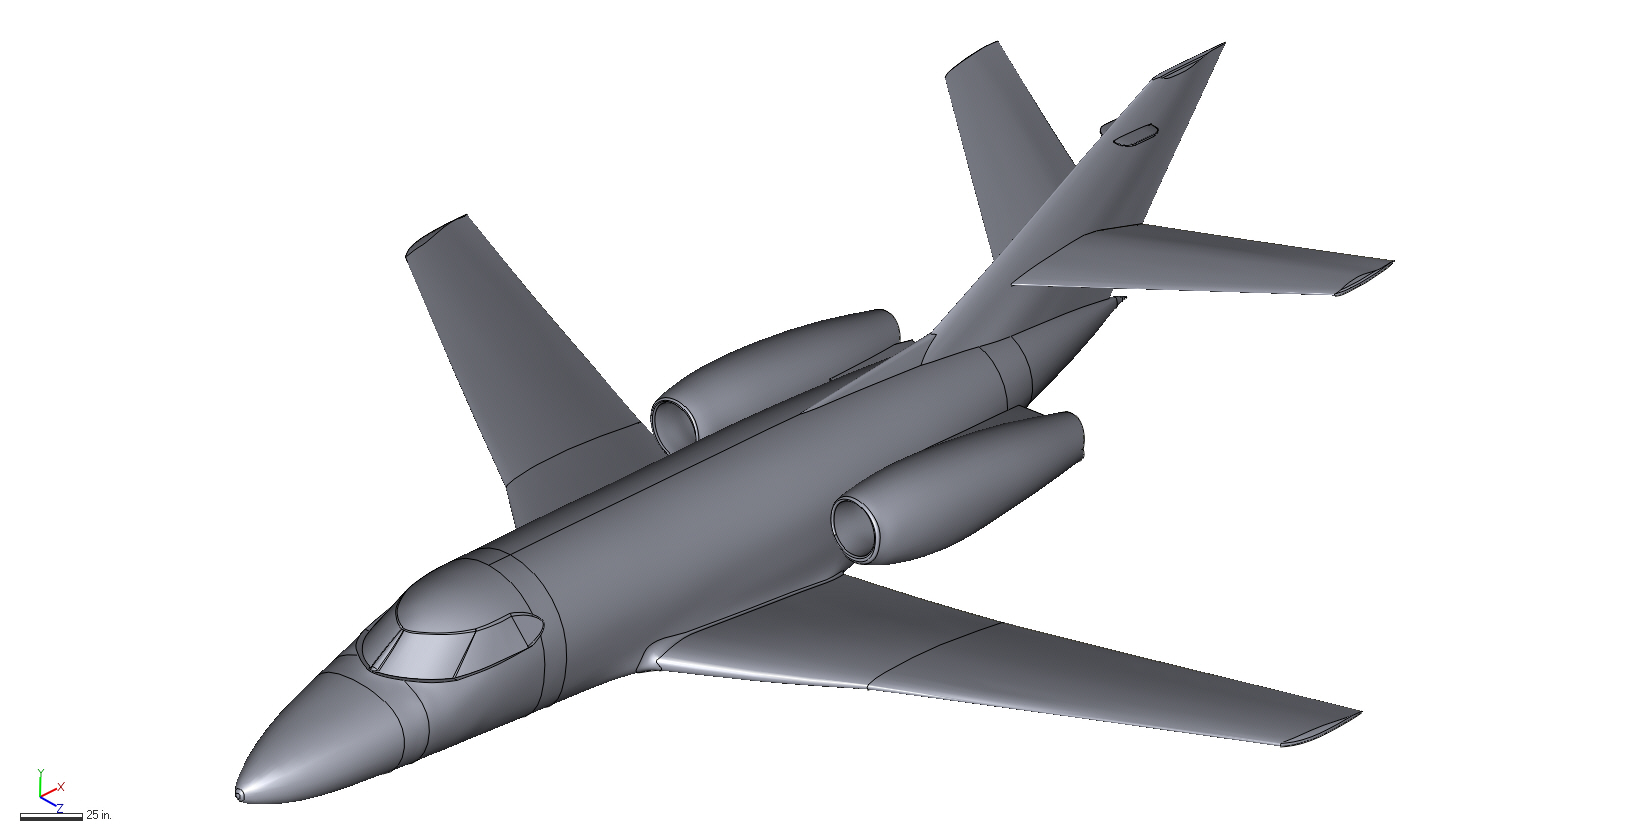
3D Scanning & Reverse Engineering an Aircraft
Creating a 3D CAD Model of Dassault Falcon F10A large aerospace company wished to retrofit an existing aircraft, the Dassault Falcon 10, with new aftermarket equipment. In a case such as this, manufacturing information is often impossible to obtain from the OEM. Furthermore, because production of the Falcon 10 ceased in 1989, there is a very small chance that 3D data of the plane even exists.
To make matters worse, although the plane structure may have been designed to have rather uniform spacing and continuous geometry, following the assembly process, flight hours logged, and the effects of the aircraft sitting under its own weight cause features to twist and shift out of place from their original intent.
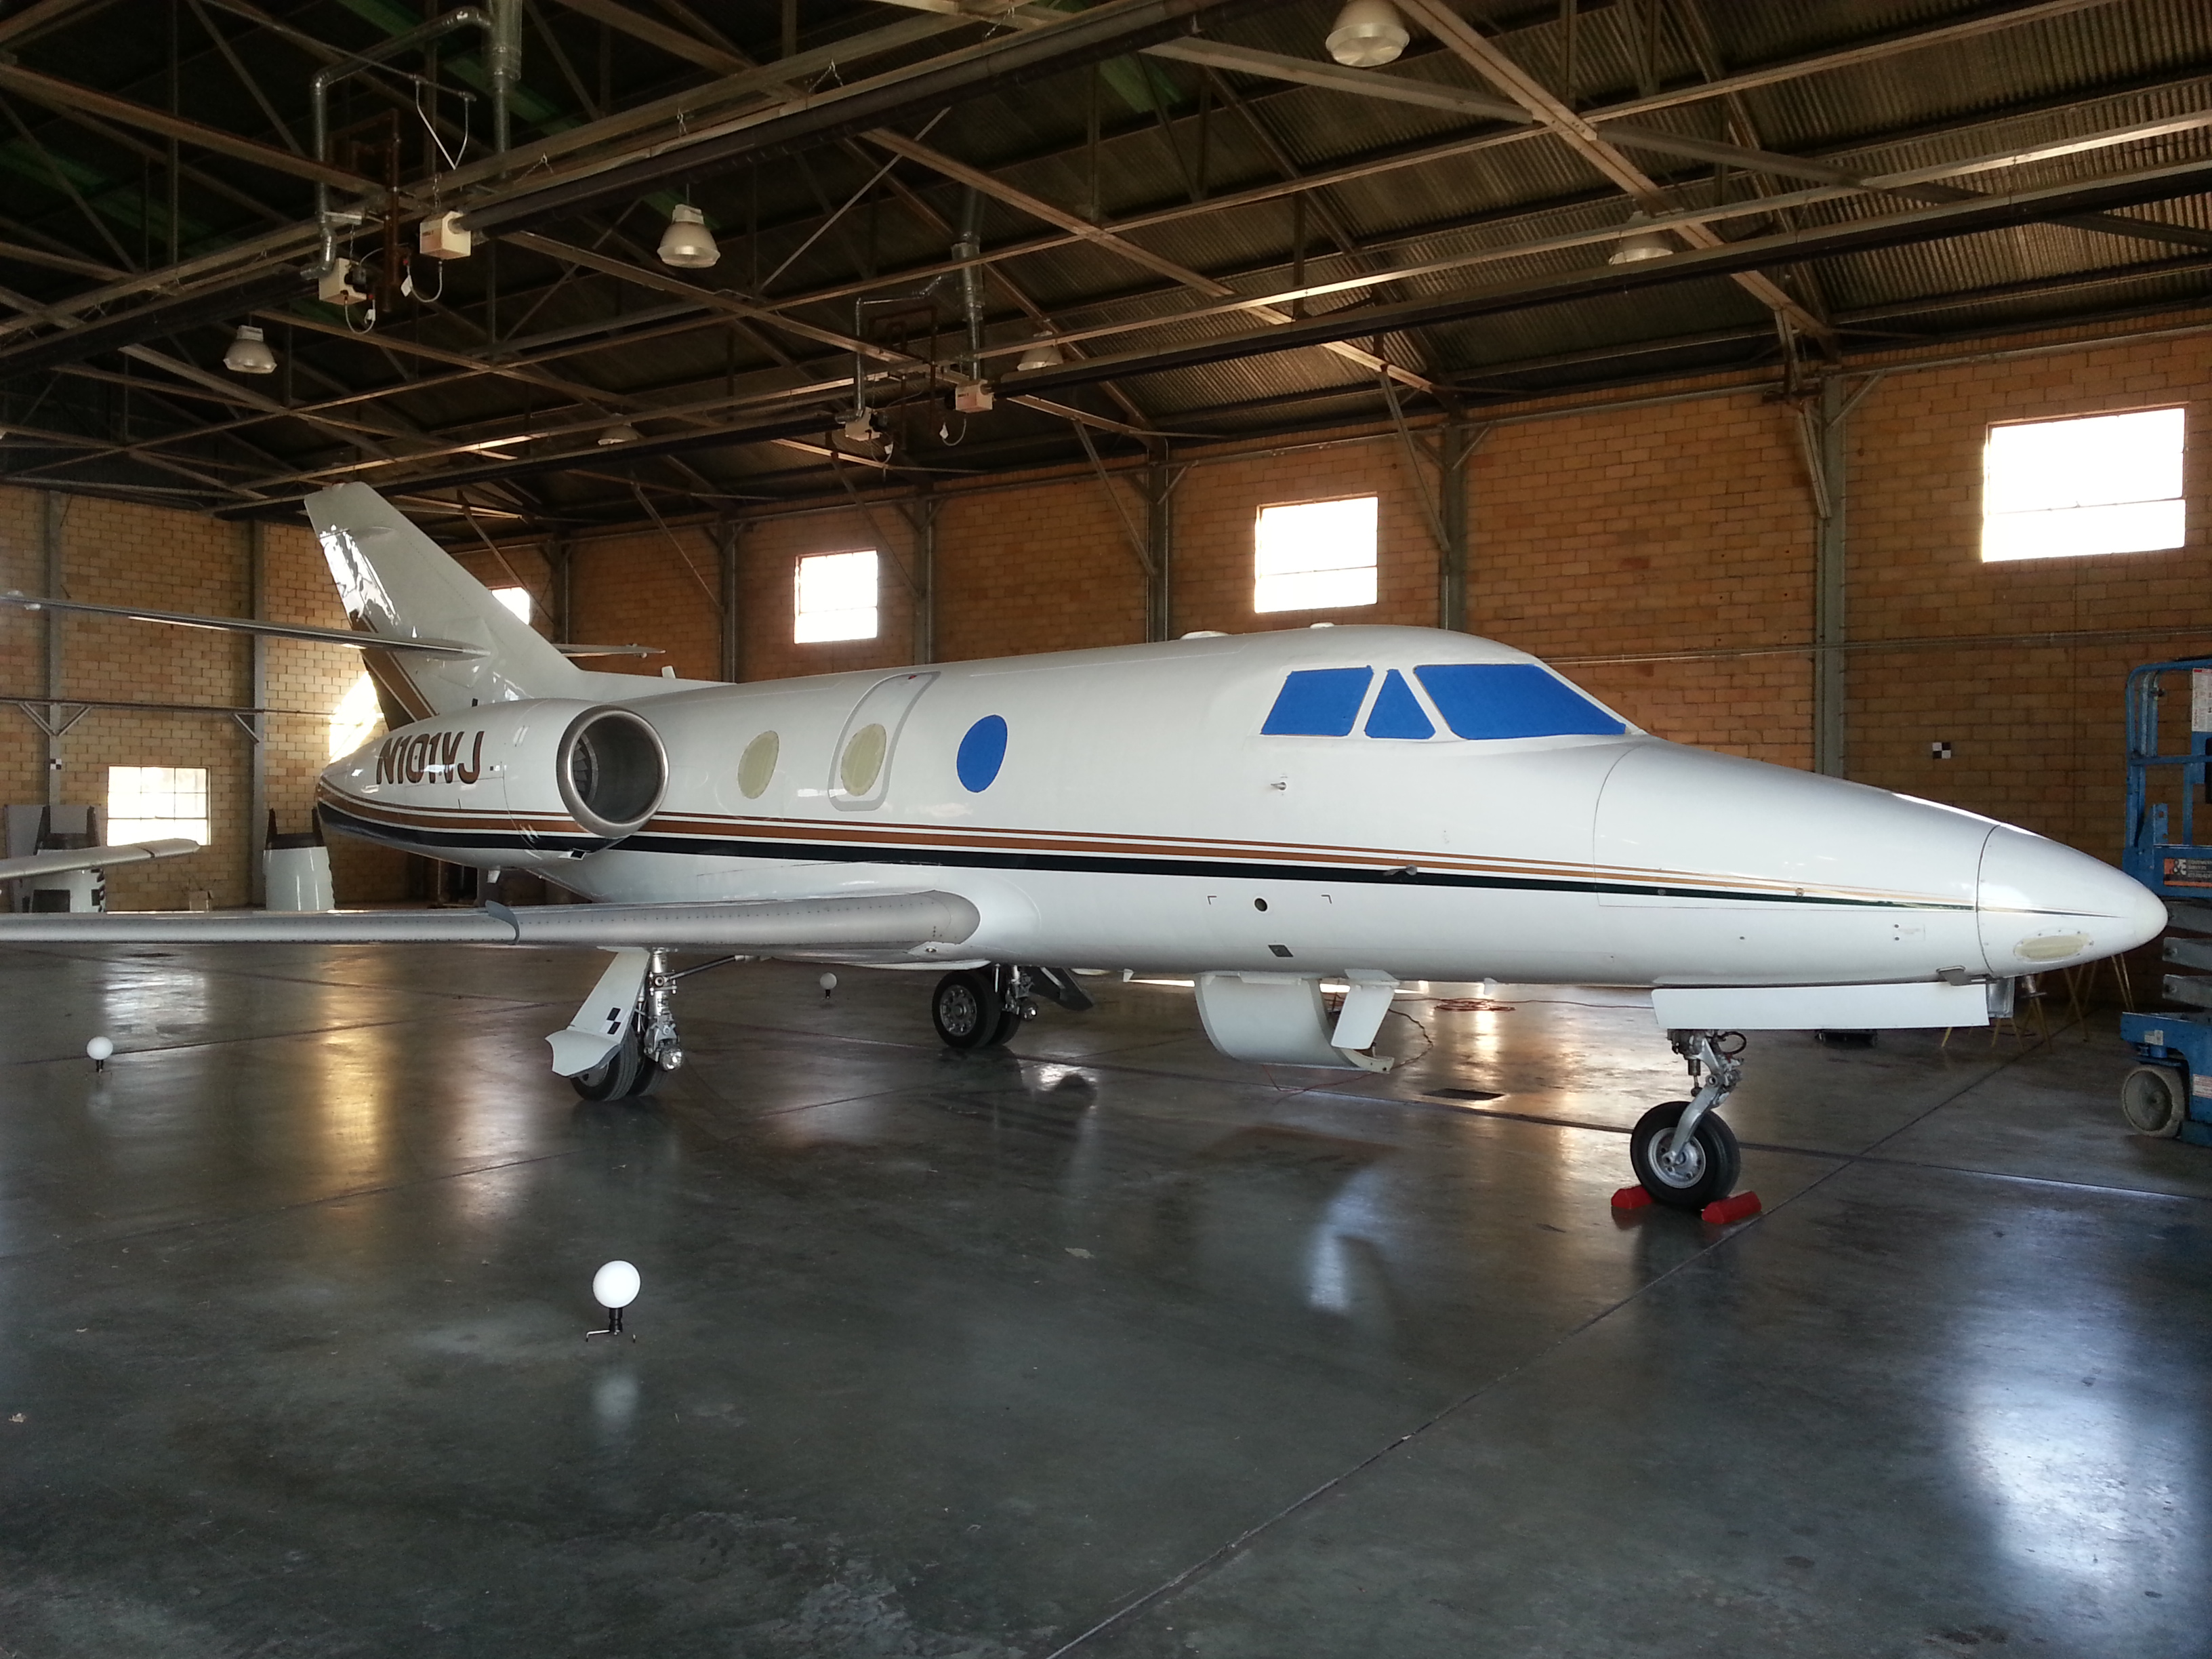
Traditionally, engineers must physically take hand measurements of the entire plane, or whichever section(s) they wish to reproduce. These would then be used to create 2D drawings or 3D models from which the company could work. Unfortunately plane outer geometry is very organic in nature and rather featureless, leaving the engineer with little geometry to accurately use as a reference. The interior of the aircraft is extremely complex with their complex truss structure, air ducts, wiring, and many other features that must be defined so as to work around them.

To capture the exterior of the plane, the Faro Focus long-range scanner was chosen for its ability to cover a lot of area in a relatively short period of time. Scans were taken in many different positions around the plane, including shots from above with the use of a lift. The full interior was also scanned with the Focus for general feature layout.
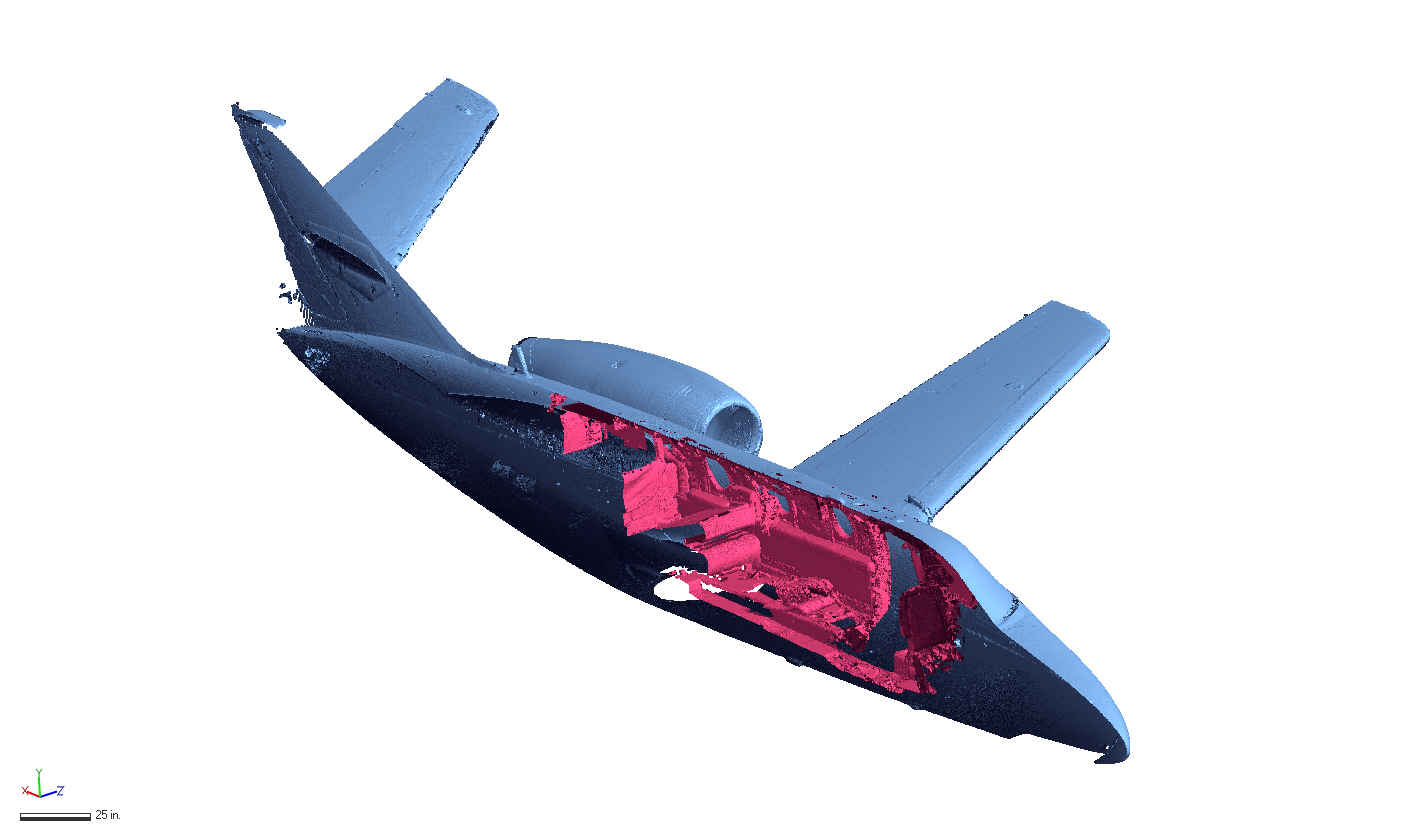
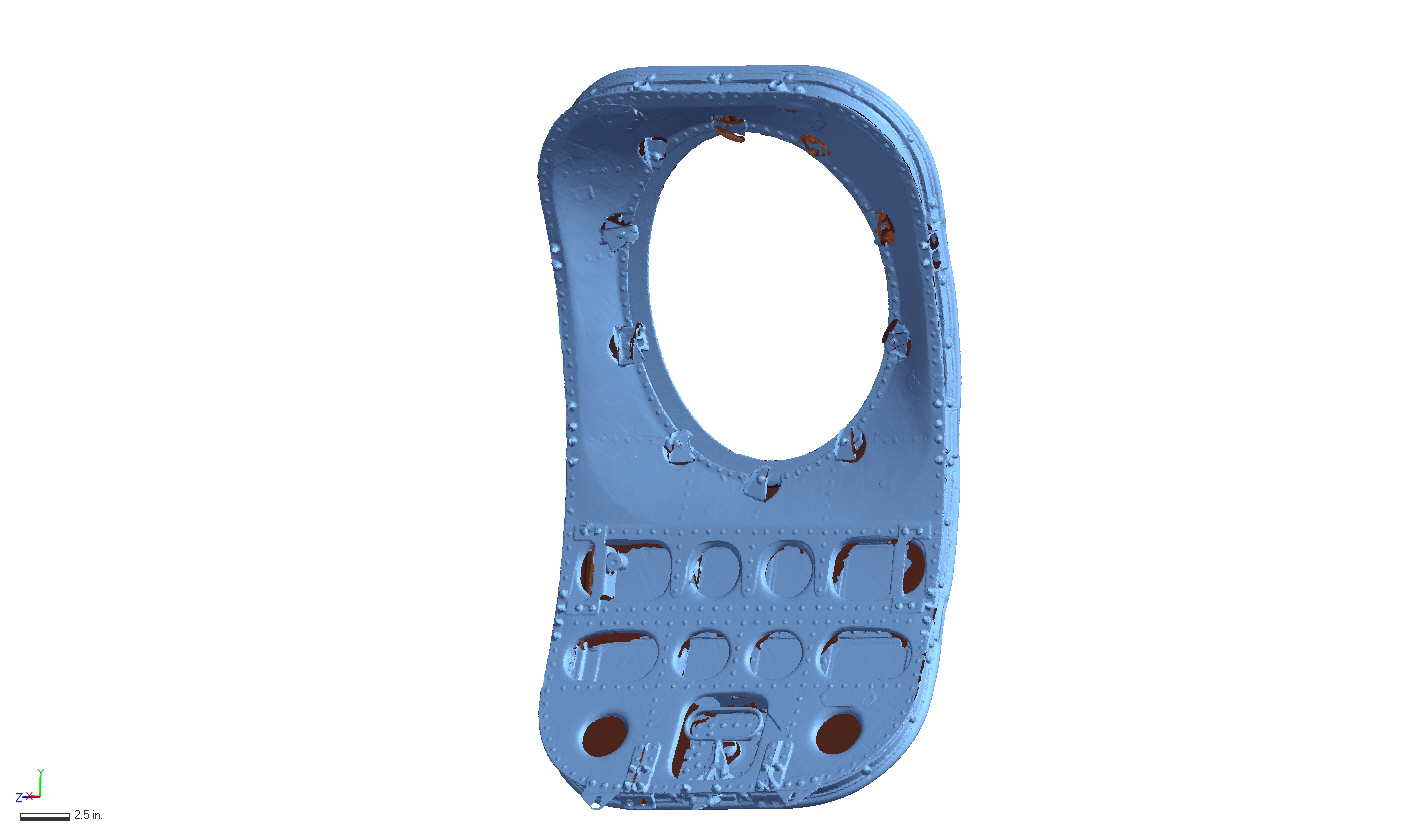
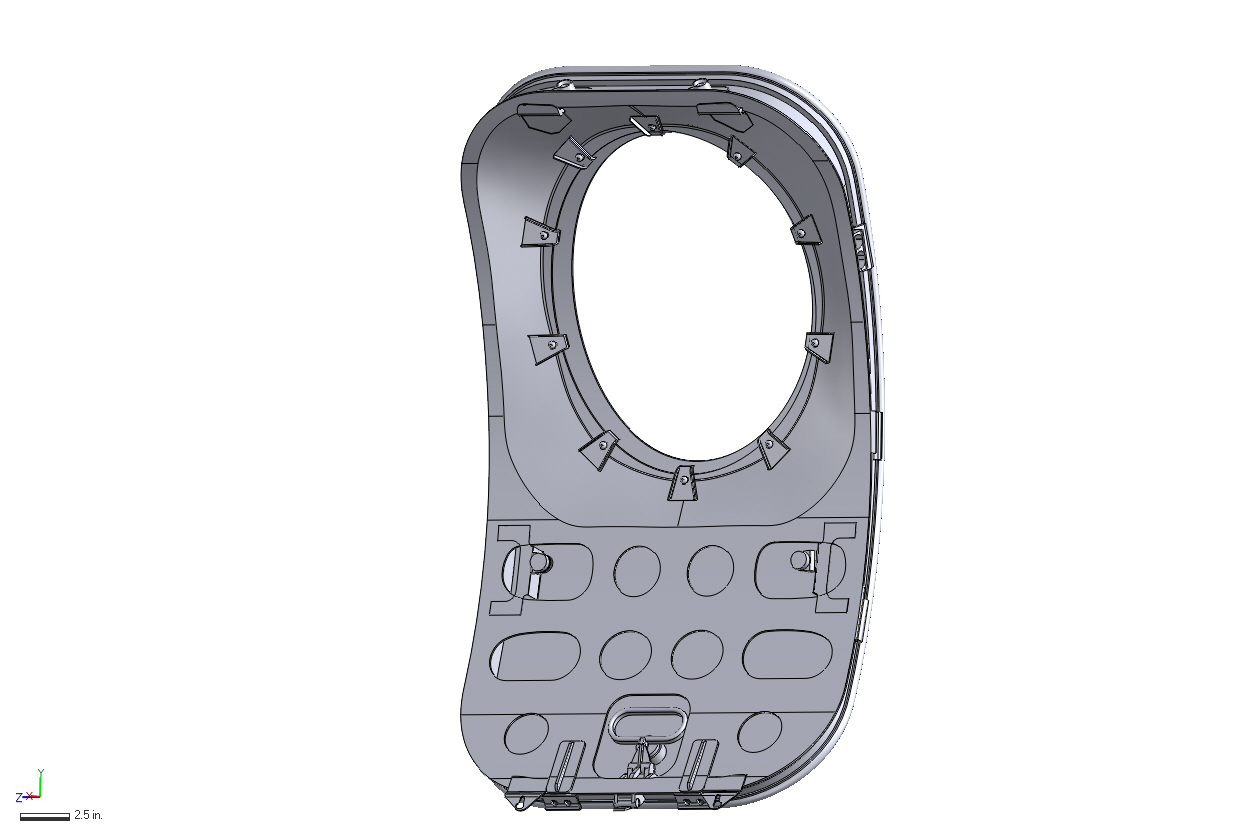
Utilizing 3D scanned data is decidedly the fastest method to reverse engineer an aircraft. The ability to capture 100% of the surface geometry of the plane is a clear advantage to attempting tedious measurements around and inside the body of the aircraft. Scan data will show every contour, stringer, air duct, and any other feature present within the scanner’s line of sight. If taking measurements using any other method, every component must be measured and recorded individually. Additionally, there is no real method of checking the accuracy of these measurements.
